
Calibrating a walk behind drop spreader can seem tricky, but it’s essential if you want your lawn or garden to look great. If you don’t calibrate, you could use too much fertilizer or seed, wasting money and harming your plants.
Or you might use too little, leaving patches and uneven growth. With a few simple steps, you can make sure your spreader delivers the right amount every time. Let’s break down the process so anyone can follow along, even if you’re new to lawn care.
Why Calibration Matters
Most people assume their drop spreader works perfectly right out of the box. But even brand new spreaders can deliver too much or too little product. Different brands, and even different models, require calibration. Factors like product density, humidity, and walking speed also affect how much is spread.
For example, over-applying fertilizer can burn grass or pollute water. Under-applying means weaker plants and wasted effort. Proper calibration lets you control these risks and get the results you want.
What You Need Before Starting
Before you calibrate, gather a few items:
- Your walk behind drop spreader
- The product you want to apply (fertilizer, seed, etc.)
- A measuring tape
- A scale (digital or kitchen scale)
- A container to collect product
- A calculator
- Paper and pen for notes
You’ll also need to know the recommended application rate. This is often listed on the product bag. For example: “Apply 2 lbs per 1,000 sq ft.”
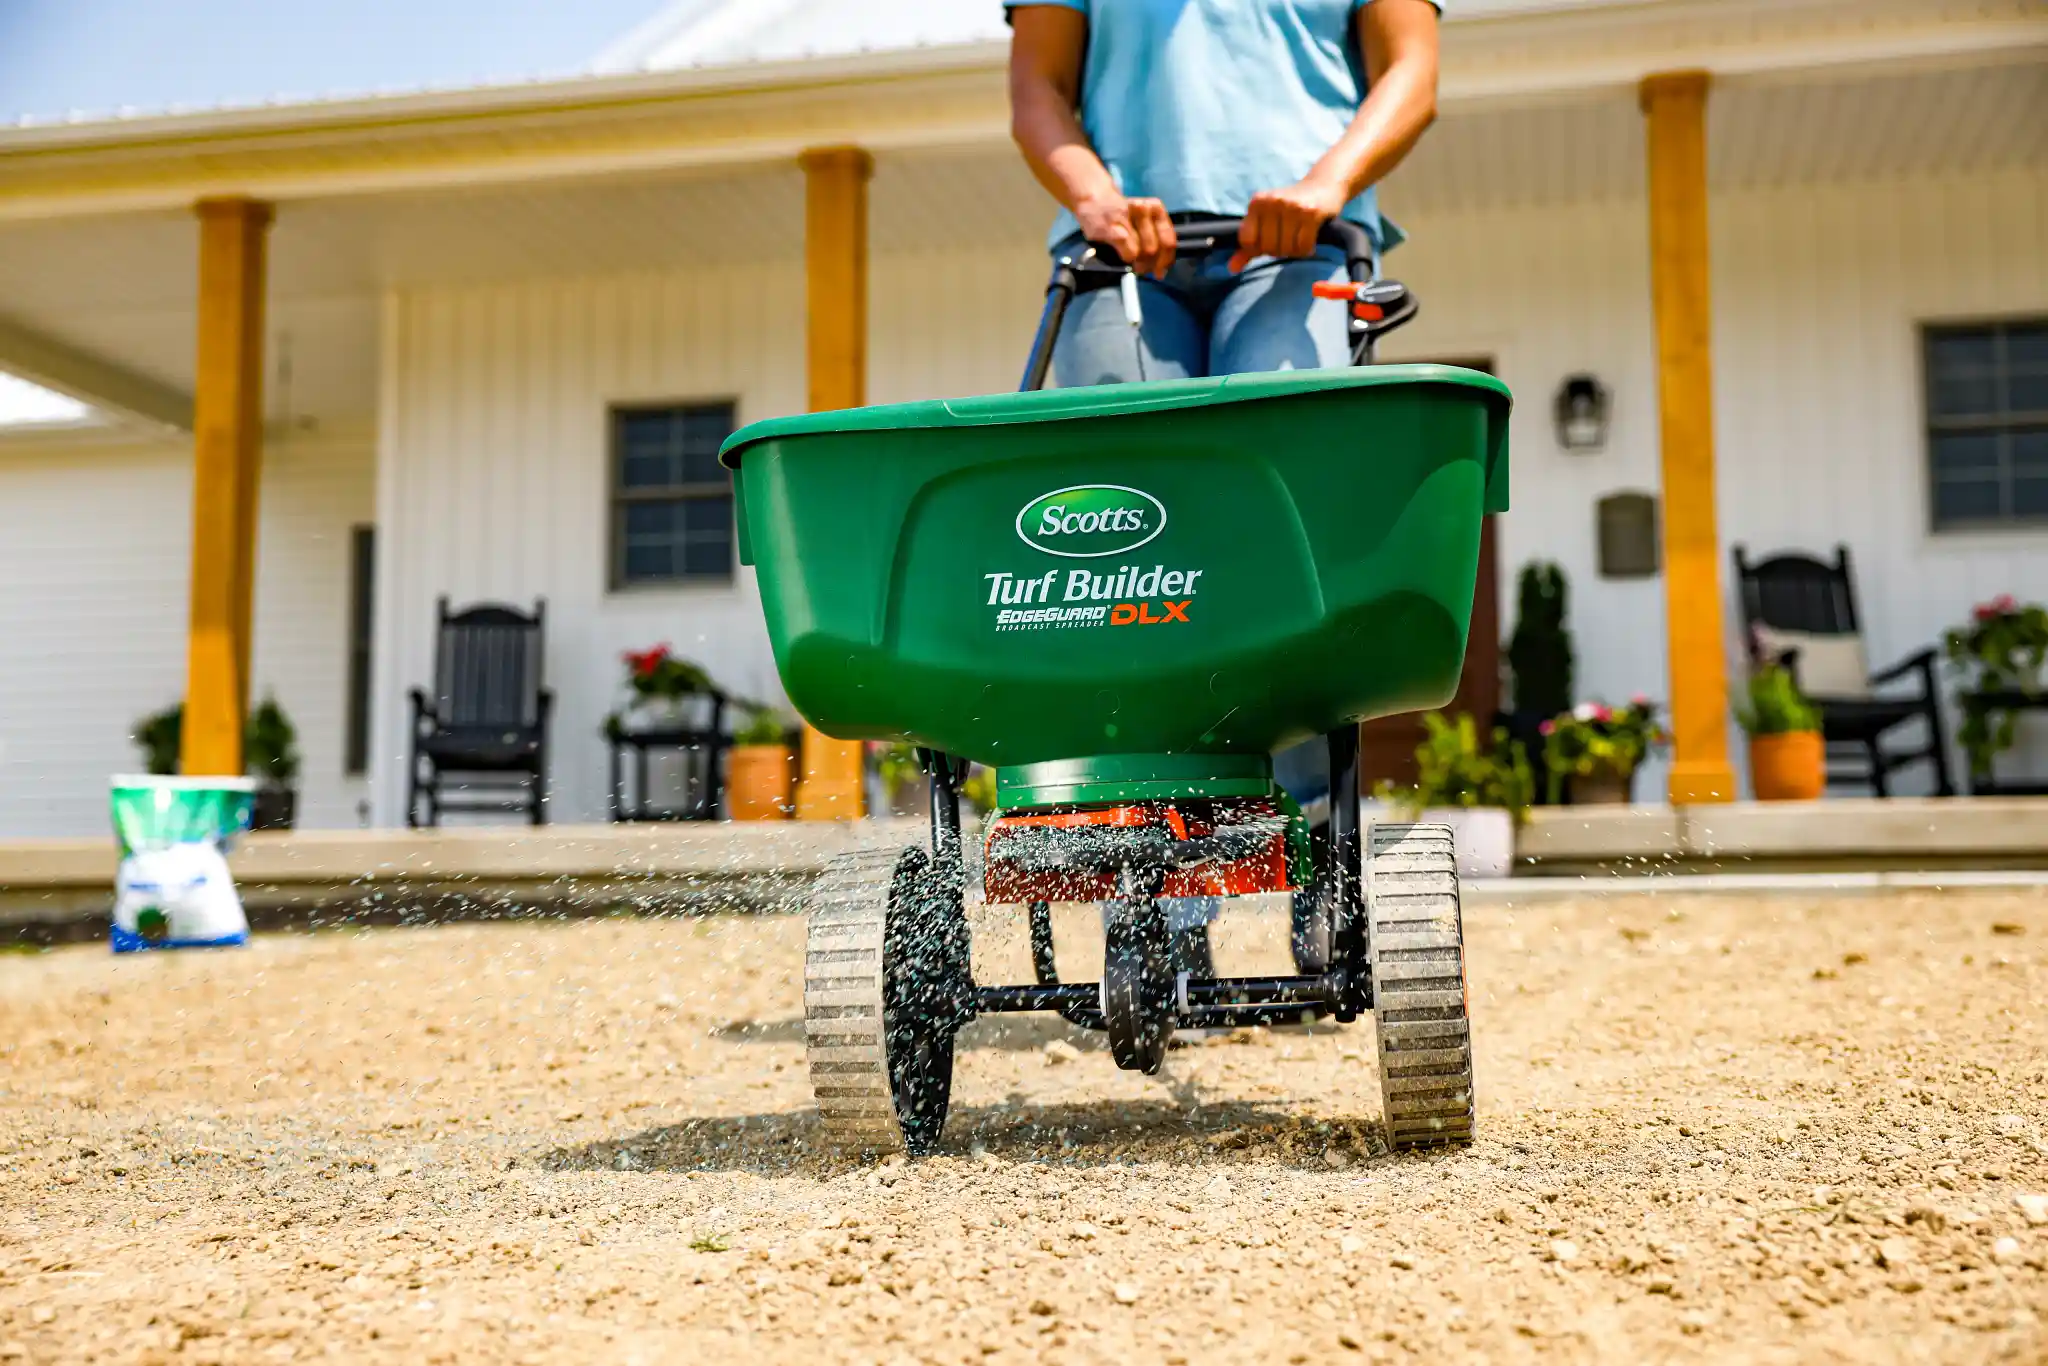
Step-by-step Calibration Process
Follow these steps to calibrate your drop spreader accurately:
1. Check The Manufacturer Settings
Read your spreader’s manual. Most give a recommended setting for your product. This is a starting point, not the final answer.
2. Measure The Test Area
Use your measuring tape to mark out a small area, usually 100 sq ft (10 ft x 10 ft works well). This makes calculations easier.
3. Prepare The Spreader
Fill your spreader with the product. Set the dial to the manufacturer’s suggested setting.
4. Run The Test Pass
Walk at your normal speed, covering the test area once. Try to walk straight and steady. Collect the product that drops during this test.
5. Weigh The Product Used
Empty the spreader’s tray or use your container to collect what was dropped. Weigh this amount with your scale. Write down the weight.
6. Calculate The Application Rate
If your product says “2 lbs per 1,000 sq ft,” and you used 0. 2 lbs for your 100 sq ft test, you’re on target. If not, adjust the spreader setting up or down.
7. Repeat Until Correct
Change the setting and test again. It usually takes 2-3 tries to get it right.
Example Calculation
Let’s say you used 0.25 lbs of product on your 100 sq ft test. The recommended rate is 2 lbs per 1,000 sq ft.
- Multiply 0.25 lbs x 10 = 2.5 lbs per 1,000 sq ft
- You’re applying too much. Lower the dial and repeat the test.
This simple math helps you calibrate precisely, even without fancy tools.
Comparing Drop Spreaders
Not all drop spreaders are equal. Here’s a quick comparison of three popular models:
| Model | Capacity (lbs) | Width (inches) | Adjustable Settings |
|---|---|---|---|
| Scotts Classic | 50 | 22 | Yes |
| Earthway 7350 | 75 | 24 | Yes |
| Agri-Fab 45-0288 | 100 | 18 | Yes |
Wider spreaders cover more ground but may need more careful calibration. Larger capacity means fewer refills.
Common Calibration Mistakes
Many beginners make these errors:
1. Ignoring Walking Speed
Walking too fast or slow changes how much product drops. Always walk at your usual pace during calibration.
2. Using The Wrong Product
Each material flows differently. Calibrate with the exact product you plan to use.
3. Missing Measurement Accuracy
Poor measuring leads to incorrect rates. Use a precise scale and always mark your test area carefully.
4. Not Repeating Tests
Calibration is rarely perfect on the first try. Repeat until your results are consistent.
Quick Reference Table: Calibration Steps
| Step | Action | Purpose |
|---|---|---|
| 1 | Set dial per manual | Starting point |
| 2 | Mark 100 sq ft area | Easy calculation |
| 3 | Fill with product | Ready for test |
| 4 | Walk and spread | Simulate real use |
| 5 | Weigh product used | Find actual rate |
| 6 | Adjust dial as needed | Get correct rate |
| 7 | Repeat test | Confirm accuracy |

Practical Tips For Better Results
- Clean your spreader after each use. Dirt and residue affect calibration.
- Always calibrate for each new product. Granules, powders, or seeds may spread differently.
- Use a calculator for quick math. Don’t guess.
- If your lawn is uneven, test several areas. Calibration can vary with terrain.
- Keep a calibration log. Write down settings for each product and season.
Many people skip calibration because they think it’s too hard or not important. But it saves money, avoids mistakes, and keeps your lawn healthy.
When To Re-calibrate
You should recalibrate your drop spreader:
- When switching products
- After repairs or maintenance
- At the start of each new season
- If you notice uneven results
Small changes in product or equipment can mean big differences in application rates.

Frequently Asked Questions
How Often Should I Calibrate My Drop Spreader?
Calibrate before each new product and at least once per season. If your spreader is old or repaired, recalibrate to stay accurate.
What Happens If I Don’t Calibrate?
You risk applying too much or too little product. This can lead to wasted money, damaged plants, or patchy lawns.
Can I Use A Drop Spreader For All Lawn Products?
Drop spreaders work well for granular fertilizers and seeds. They’re not suitable for liquid products or very fine powders.
How Do I Know My Spreader Is Calibrated Correctly?
If you consistently reach the recommended rate after testing, your calibration is correct. Double-check by testing a few areas.
Where Can I Learn More About Lawn Care And Calibration?
Check official resources like the University of Minnesota Extension for expert advice and detailed guides.
Calibrating your walk behind drop spreader isn’t complicated, but it does take a bit of care and attention. With the right steps and tools, you’ll get reliable, healthy results every time you fertilize or seed. Whether you’re a beginner or have years of experience, proper calibration will help you use your spreader like a pro and avoid mistakes that waste time and money.
