
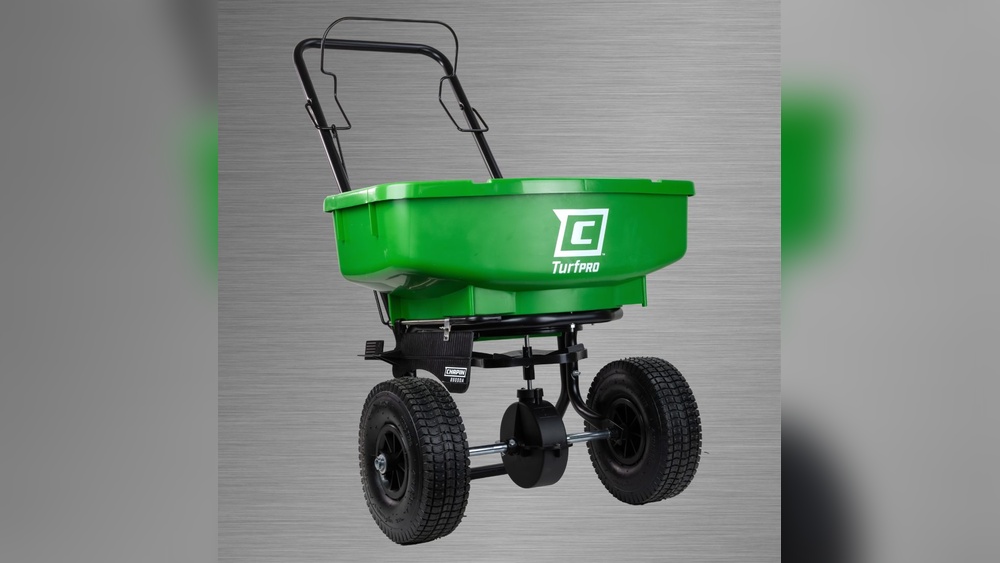
Washing a fertilizer spreader can be tricky. If you do it wrong, your machine might get rusty and stop working well. But with the right steps, you can clean your spreader safely and keep it running for years. Many people make mistakes, like leaving wet spots or forgetting to dry metal parts.
This guide will show you how to wash a fertilizer spreader without causing rust, using simple instructions, helpful data, and real examples. If you care about your tools and want to avoid expensive repairs, read on.
Why Rust Is A Big Problem For Fertilizer Spreaders
Rust isn’t just ugly; it can destroy your spreader. When water touches bare metal, iron reacts with oxygen and creates iron oxide—that’s rust. Over time, rust weakens metal, makes moving parts stick, and causes holes or cracks. According to the University of Florida, rust can reduce equipment life by up to 50% if not controlled.
Let’s compare how rust affects different parts:
| Spreader Part | Rust Risk | Impact |
|---|---|---|
| Frame | High | Structural weakness |
| Axles | Medium | Jammed wheels |
| Gears | High | Loss of spread function |
| Hopper | Low | Pitting, holes |
One thing many beginners miss is that even small rust spots can spread quickly if ignored. Always check your spreader for signs of rust before and after washing.
The Best Way To Wash A Fertilizer Spreader
Cleaning your spreader safely isn’t hard, but you must follow each step. Here’s a practical routine that works for both small handheld and large push models.
1. Prepare Your Tools And Area
Before starting, gather:
- Soft brush or cloth
- Mild soap (not harsh detergents)
- Bucket of warm water
- Garden hose (low pressure)
- Clean towels
- Spray lubricant (like WD-40)
- Protective gloves
Choose a spot with good drainage and shade. Direct sunlight can dry water too fast, leaving stains.
2. Remove Excess Fertilizer
Always empty leftover fertilizer. Fertilizer contains salts and chemicals that speed up rust. Use a brush to sweep out powder or pellets from the hopper and spreader plate.
3. Rinse Carefully
Lightly rinse the spreader with a garden hose. Avoid spraying directly onto bearings or gears. High-pressure water can force moisture into hidden spots, increasing rust risk.
Here’s a comparison of rinsing methods:
| Method | Time | Rust Risk |
|---|---|---|
| High-pressure washer | 2 min | High |
| Garden hose (low pressure) | 3 min | Low |
| Wet cloth wipe | 5 min | Very Low |
Low pressure is safest for spreaders with many metal parts.
4. Wash With Soap And Brush
Mix mild soap in warm water. Dip the brush or cloth and gently scrub the hopper, wheels, and frame. Pay extra attention to corners and joints, where fertilizer dust collects.
Avoid using abrasive pads. They scratch paint and expose metal, making rust more likely.
5. Rinse Again And Inspect
Give your spreader a second light rinse to remove all soap. Check for missed spots or sticky residue. If you see any, scrub again and rinse.
6. Dry Thoroughly
Most rust happens because people don’t dry their spreader well. Wipe all parts with a clean towel. Let the spreader sit in the shade for 20–30 minutes, turning it upside down to help water drain.
Here’s a quick drying comparison:
| Drying Method | Effectiveness | Rust Risk |
|---|---|---|
| Air dry in sun | Moderate | Medium |
| Towel dry + air dry | High | Low |
| No drying | Poor | Very High |
Never leave your spreader wet overnight. Moisture trapped inside gears or joints is a hidden rust trigger.
7. Lubricate Moving Parts
Once fully dry, spray a light lubricant on axles, gears, and other moving metal parts. Lubricant forms a protective layer that stops moisture from causing rust.
Many beginners skip this, thinking their spreader is clean. Lubrication is key for long life—especially if your spreader is used often or stored in humid areas.
8. Store Properly
Put your spreader in a dry place, away from rain and humidity. If possible, cover it with a plastic sheet or tarp. Never store it on bare soil, which can trap moisture.
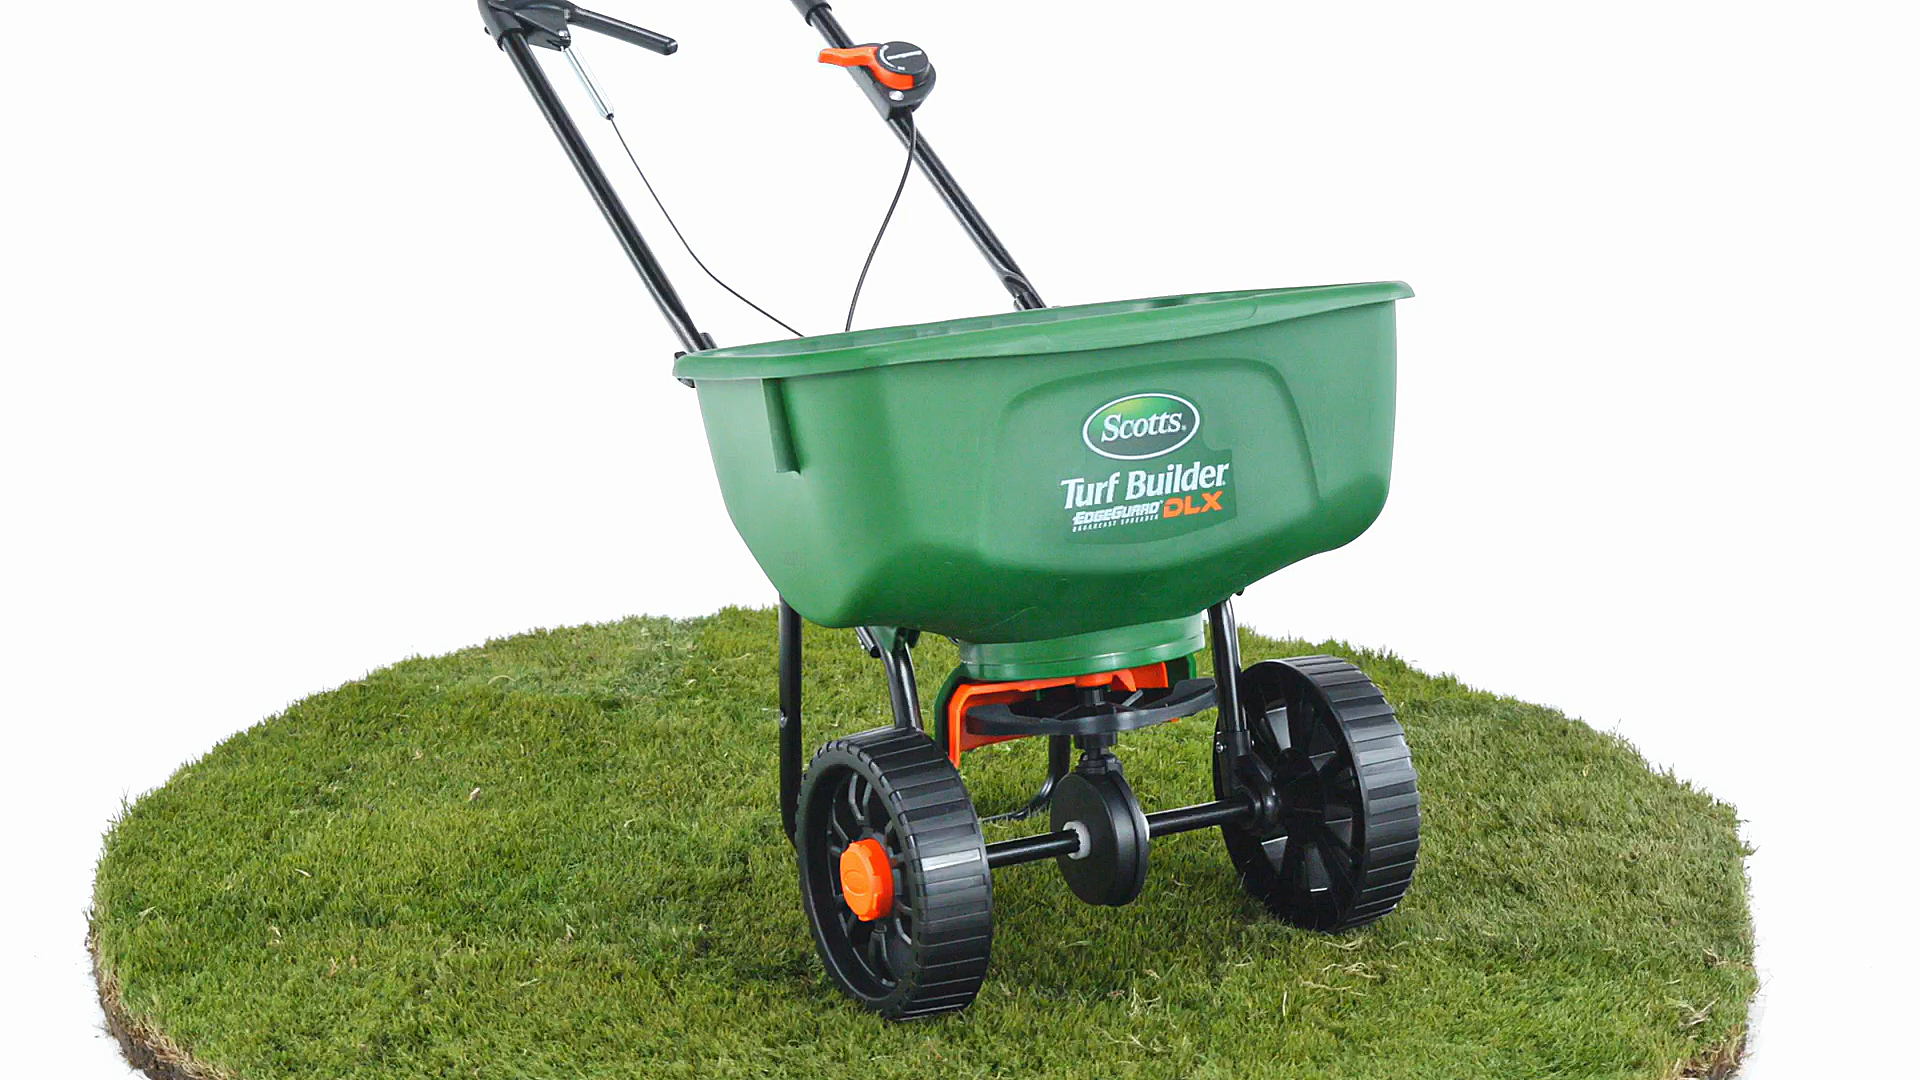
Extra Tips To Prevent Rust
- Inspect your spreader after every use.
- Touch up paint chips with metal paint.
- Use silica gel packs in storage to absorb moisture.
- Clean after spreading fertilizer, not just at season’s end.
Many people only clean once a year, but regular cleaning stops rust before it starts.
Common Mistakes To Avoid
- Using harsh chemicals: They remove paint and expose metal.
- Forgetting to dry: Even small drops cause rust.
- Ignoring lubricant: Dry parts wear out and rust faster.
- Storing outdoors: Rain and dew speed up corrosion.
Don’t rush the process. Careful washing and drying will pay off.
Frequently Asked Questions
How Often Should I Wash My Fertilizer Spreader?
Wash your spreader after each use, especially if you use it with salty or chemical fertilizers. This prevents residue buildup and rust. If it’s only used a few times a season, wash at least once per month.
Can I Use A Pressure Washer To Clean My Spreader?
It’s not recommended. High-pressure water can force moisture into gears and joints, increasing rust risk. Use a garden hose with low pressure or a wet cloth instead.
What Type Of Lubricant Is Best For Fertilizer Spreaders?
Choose a light spray lubricant like WD-40 or silicone spray. Avoid heavy greases, which attract dirt and fertilizer dust. Apply after drying and before storing.
How Do I Fix Small Rust Spots On My Spreader?
Clean the area, dry it, and sand lightly. Use metal primer and touch-up paint. Regularly check for new spots. Early action prevents spread.
Where Can I Find More Information About Fertilizer Spreader Maintenance?
The University of Florida Extension has helpful guides on equipment care. For more details, visit University of Florida Extension.
Taking care of your fertilizer spreader isn’t just about cleaning. It’s about protecting your investment and making your work easier. By following these steps, you’ll keep rust away and your spreader working smoothly for years. Small actions, like drying and lubricating, make a big difference—so don’t skip them.
